
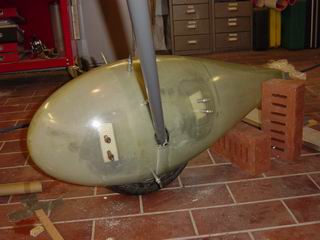
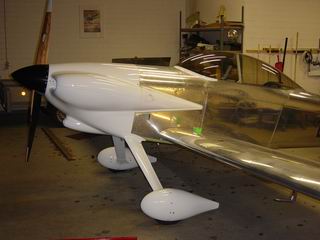
Glass-work again :o( At first you have to align the wheelspants carefully and drill them to the supports. |
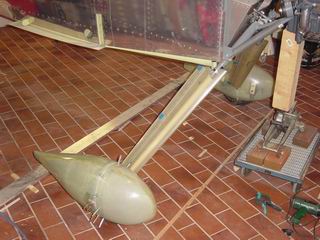
Then it's time to fit the landinggear-fairings. A lot of measuring here, because if they are not inline with the slipsteam they would have a real bad influence to directional stability in flight. |
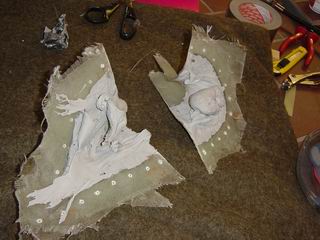
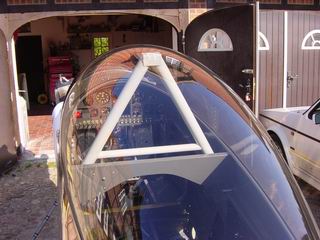
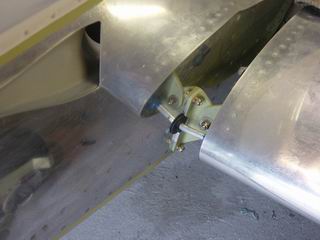
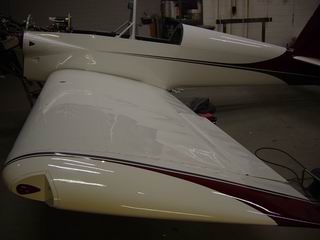
Now you have to mold a intersection fairing between the wheelpants and the gearleg fairing. I took some bubblegum-like stuff and formed out the desired shape and glassed it over. The wheelpants were exessively waxed, because it has to be seperated after curing. |
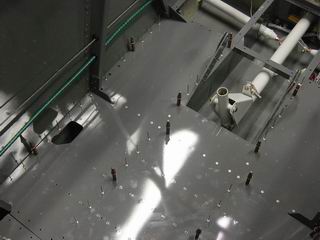
This is how it looks from above. |
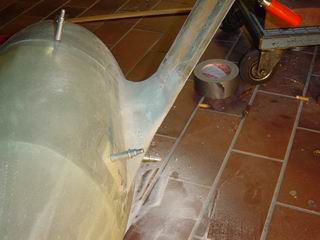
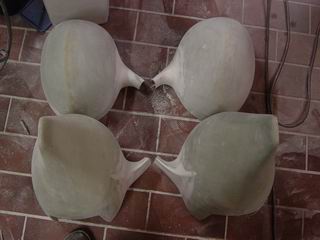
The next day I was able to cut the molding and remove it. The next two hours I spend to remove the gum..... |
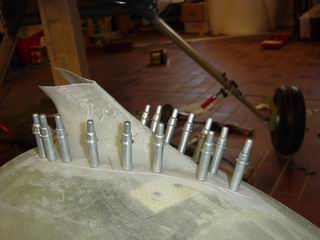
Now I bonded the halfes to the wheelpants, using epoxy and microbaloons, supported with some clecoes. |
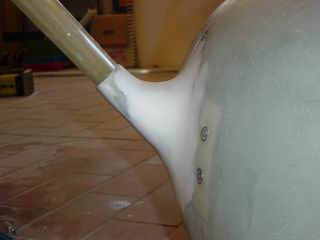
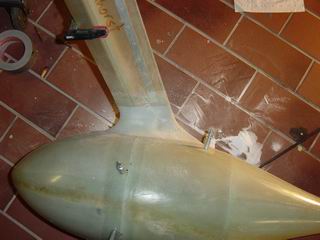
One more layer of glass and a lot of sanding. |
The result. A lot of work for those parts, but it looks really nice. |
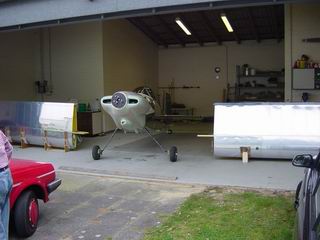
End of September 2006: The bird leaves the nest!!!! The first night with an empty shop had been strange. For 4 years it was the first walk in the morning and the last door that closed in the evening, and now there is nothing.
3680 hours and still counting...
|
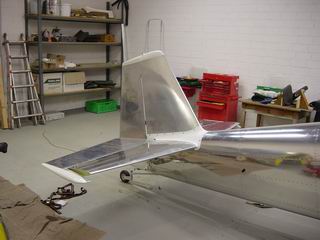
Mounting the tailfeathers. They had been on earlier at home, so it was a simple job. |
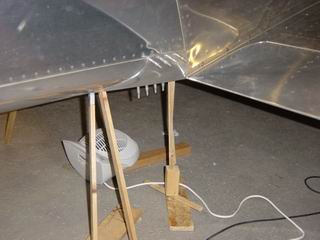
The wings. This was thrilling, because you really don't know if all the holes line up and if the rear spar will slip into his mounts. I heard enough stories about this, but in my case everything matched. |
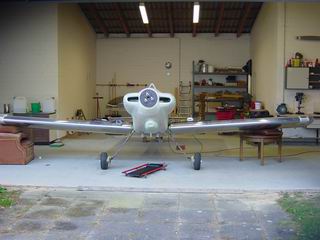
Now it's time to crawl into and bolt the spar to the fuselage. |
....and there are many bolts, about 60. |
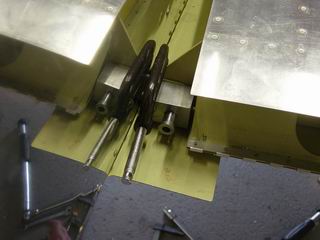
Drilling the hole for the rear spar attachment. I fabricated this drillguide to make shure the hole will be in alignment. After drilling I reamed it to specs. |
The flaps are installed and here I connect them to the flaplever. |
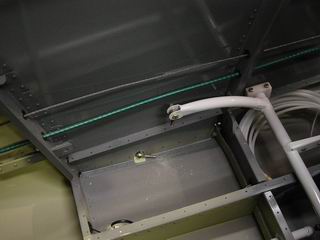
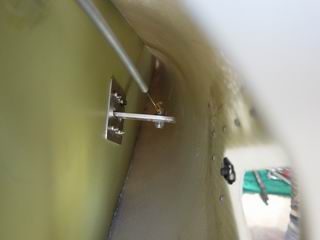
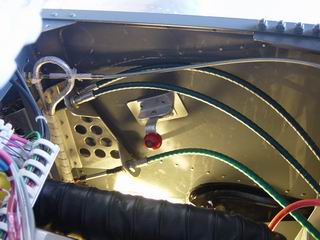
Dynon's remote compass installed under the wingtip. |
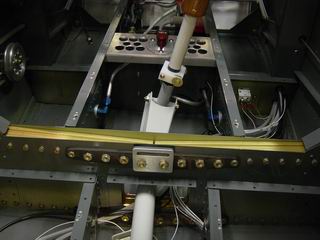
Pitotlines and fuellines are next. |
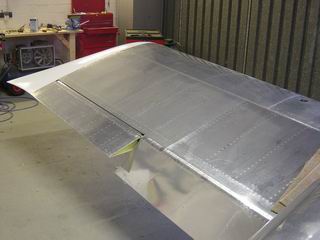
Hey, a wing with aileron and flap, even the wingtip on and all in perfect alignment. |
The pitot-tube, doing Angle of Attack as well. (Works perfect) |
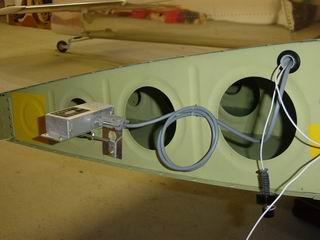
Bolting the tanks to the fuselage. |
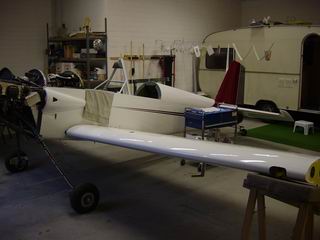
Installing the floorboards. |
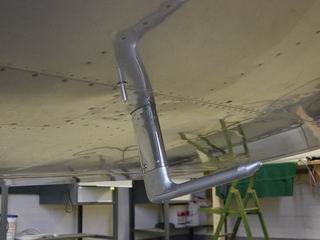
Making intersection fairings. |
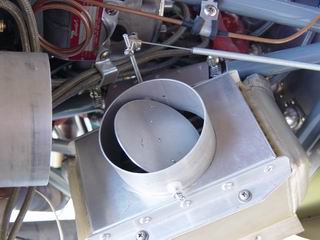
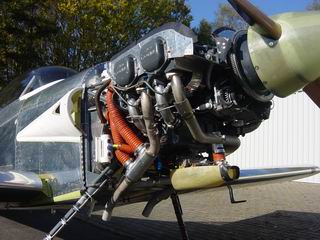
Butterfly-valve to shut off the oilcooler. It showed up after the first flights, that the oiltemperature was too cold. Now I can regulate the amount of air from the inside. The valve is mostly closed, and the oiltemps stay around 175 deg F. (Still low) |
A shot into the cowl cheeks, you can see the oildoor-lever. |
And this is from the inside. |
The calibration of the fueltank probes. |
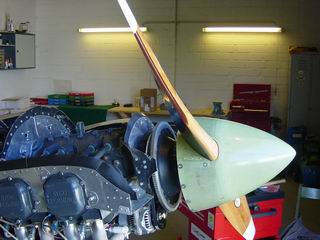
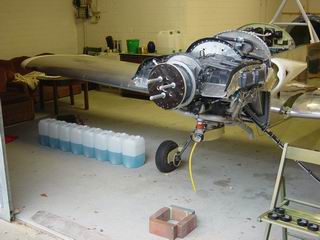
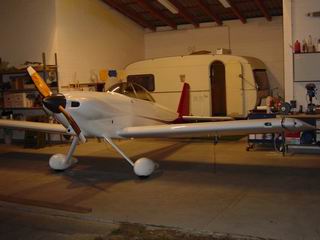
Prop and spinner installed. |
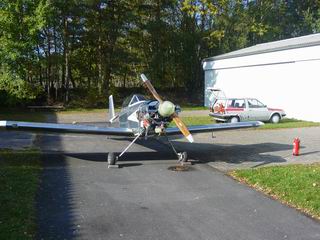
25th of October 2006, high noon: OK, this baby should do it's first cry today! |
Fire distinguisher at hand, you never know..... |
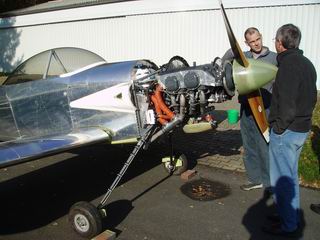
Last words... |
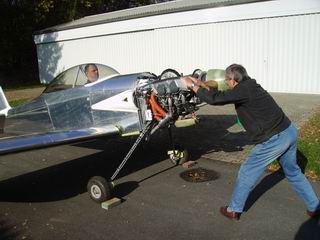
Main ON fuel-pump ON magnetos ON mixture FULL RITCH throttle ONE INCH primer ON and...... |
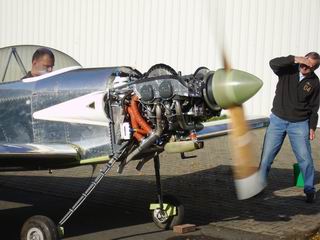
IGNITION!!!! As if it would have done nothing else all the time the engine fired up, ran fine, all systems worked perfect, good oil pressure, alternator was loading amps to the battery, no leaks at all. What a perfect day :o) |
This shot was taken 6 month later, inbetween the first flight had taken place, and the aircraft had 20 hours of airtime. I decided to paint it after the first flights to be shure that all bugs are out. I didn't expect that there where no bugs...... |
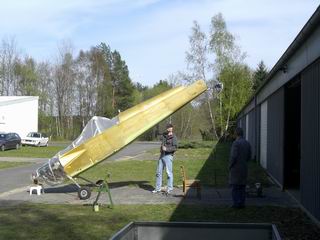
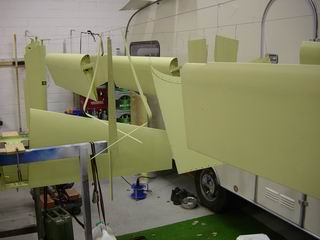
OK, wings off, tailfeathers off, and chromate on. |
It's hard to buff all surfaces for priming after 4 years of trying everything to keep 'em scratchfree. Before... |
...and after buffing the surface. |
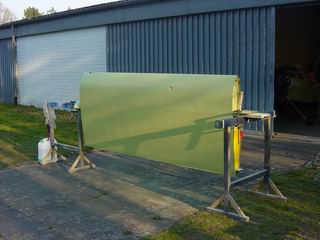
It was late April and the temperatures allowed to paint everything outside. We had snow some years, but this time nature helps. |
After every part was chromated, I decided to let someone paint the ship. I found a good carpainter nearby, and he allowed me to do everything except the painting itself at his shop. So i spend days with scuffing, masking, washing and so on. Some days later I drove home with my now white,red and gray RV for one last assambling job! |
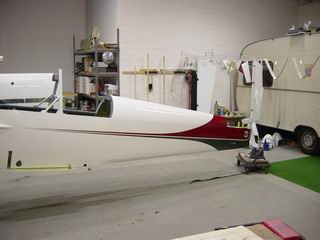
All parts had been completed and flown, so it was a real pleasure to bolt all the shining parts together. |
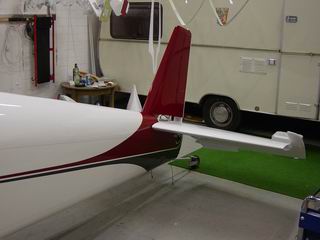
Once again starting with the stabilizer and elevator,.... |
....followed by the wings... |
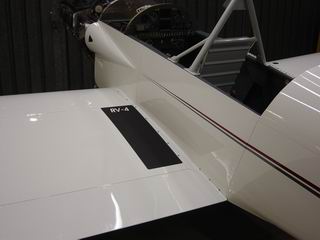
...fairings.... |
....wingtips... |

....cowling.... |

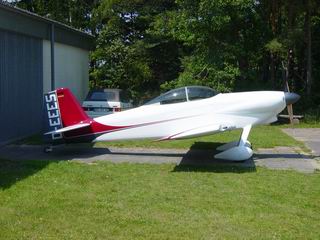
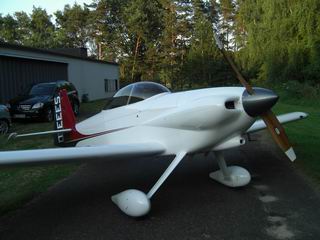
...wheelpants...and, at the 9th of June 2007, RV4 #4405, now D-EEES was ready to leave the hangar in shining colours! |
This is RV number 5023 ever flown, 1214 RV4's had done it before. |
4059 hours until it's maiden flight..... |
And another 346 hours for the final paint including disassambling and stuff: So 4059 hours + 346 hours = 4405 hours.....???? Yes, and my builder number is 4405, too. Glad I had'nt a higher number, who knows.....
See you over Europe!!! Bye, Dirk |