
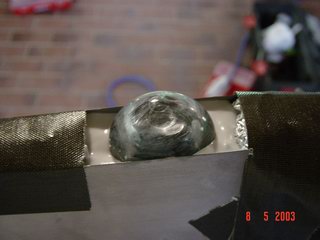
At first you have to pour lead into the tip ribs. I took more than needed, so the elevator is overbalanced, but the final paint will be mostly behind the turning point, so better drill some out than pour some in. |
|
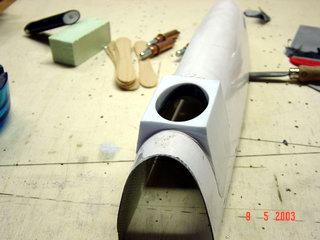
 Oops, a
little too much, so I had to file it off, but... Oops, a
little too much, so I had to file it off, but... |
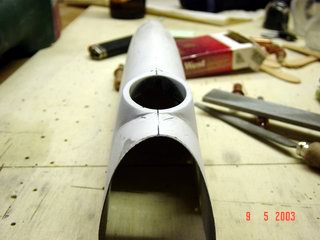
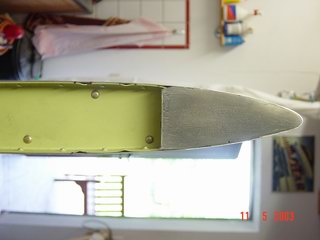 ...no need
to do any filling after this, no bondo here. ...no need
to do any filling after this, no bondo here. |
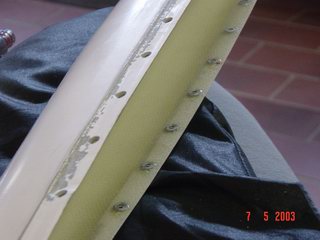 I glued in
some washers to avoid cracks from those pop-rivets. I
don't know if you have to do this, but it would be a pity
if it happens. I glued in
some washers to avoid cracks from those pop-rivets. I
don't know if you have to do this, but it would be a pity
if it happens. |
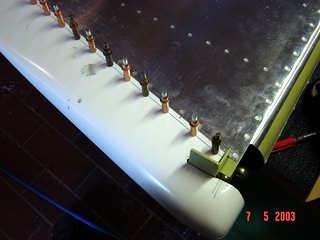
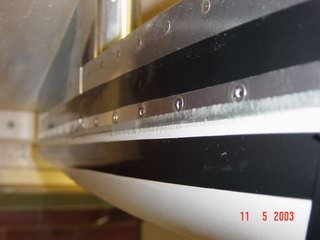 I riveted
and glued with epoxy resin at once. You can jig it and
there will be no waves on the surface. Esp. the main skin
is very thin and you have to rivet close to the edge. And
as another effect, there is no gap between skin and
fiberglass after sanding. I riveted
and glued with epoxy resin at once. You can jig it and
there will be no waves on the surface. Esp. the main skin
is very thin and you have to rivet close to the edge. And
as another effect, there is no gap between skin and
fiberglass after sanding. |
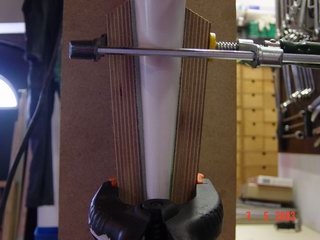 Clamp it
and turn off the light! Clamp it
and turn off the light! |
 The rudder
foot was a little tricky, because you have to decide
where to cut it. It will not fit over the angle if you
only slot it. The plans say not much about it, so I
decided to cut of the leading edge. Now you can slide it
onto the rudder and there is no gap at the angle, but, of
course, a big gap at the leading edge... The rudder
foot was a little tricky, because you have to decide
where to cut it. It will not fit over the angle if you
only slot it. The plans say not much about it, so I
decided to cut of the leading edge. Now you can slide it
onto the rudder and there is no gap at the angle, but, of
course, a big gap at the leading edge... |
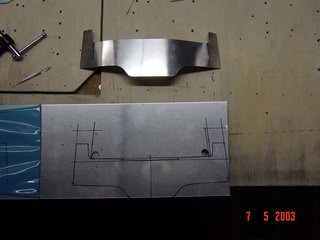 ...so I
fabricated a little piece of aluminum, ...so I
fabricated a little piece of aluminum, |
 rolled the
edge slightly with a slotted grip of a file, rolled the
edge slightly with a slotted grip of a file, |
 ...and
this is how it looks. ...and
this is how it looks. |
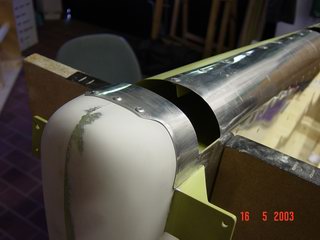 After
riveting it looks like a piece of the rudder-skin. It is
attached to the rudder main spar with two AN rivets on
each side, there is some place to do that. After
riveting it looks like a piece of the rudder-skin. It is
attached to the rudder main spar with two AN rivets on
each side, there is some place to do that. |
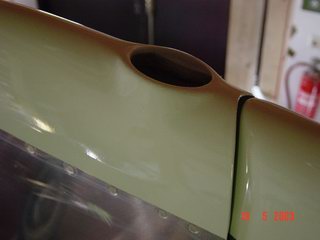
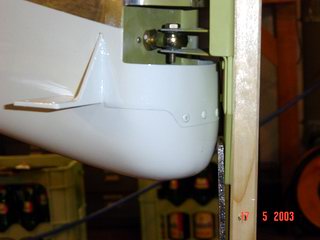 The
result. I sprayed all of the fiberglass to have a better
view for a smooth surface, you can detect it better this
way. The
result. I sprayed all of the fiberglass to have a better
view for a smooth surface, you can detect it better this
way. |
 I have
installed a little Wheelen strobe as an ACL on top of the
vertical stabilizer, it is small, lightweight and
effective. Cut a hole into the fiberglass, wax the glass
of the ACL and laminate it into the fairing from the
inside. The glass is shaped to the outside on its foot,
so you will have a stop and it will not jump out. If you
have waxed enough, you can push the glass back to the
inside the next day. Now, wax again, reinsert it, do a
weird construction with waxed anything and fill in Epoxy,
mixed with microbaloons for weight-saving. I have
installed a little Wheelen strobe as an ACL on top of the
vertical stabilizer, it is small, lightweight and
effective. Cut a hole into the fiberglass, wax the glass
of the ACL and laminate it into the fairing from the
inside. The glass is shaped to the outside on its foot,
so you will have a stop and it will not jump out. If you
have waxed enough, you can push the glass back to the
inside the next day. Now, wax again, reinsert it, do a
weird construction with waxed anything and fill in Epoxy,
mixed with microbaloons for weight-saving. |
 If the wax
works, I should be able to push the glass out
tomorrow.....should be.....wait and see :o( If the wax
works, I should be able to push the glass out
tomorrow.....should be.....wait and see :o( |
 Waiting
for tomorrow. Waiting
for tomorrow. |
 Strike!
OK, the shape needs some work ;o) Strike!
OK, the shape needs some work ;o) |
 Step by
step.... Step by
step.... |
 The
result. The first "Spirit of Gera"-touch,
grin.. The
result. The first "Spirit of Gera"-touch,
grin.. |
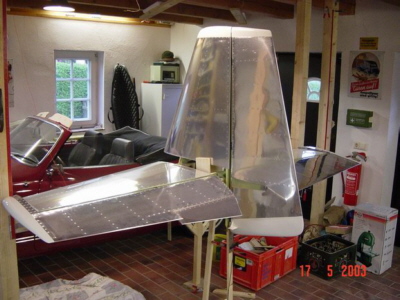 |
| READYREADYREADY! If I subtract holidays and
Christmas, I'm looking back on 6 months of work, some
sleepless nights, one major mistake with the E405's, a
lot of people I met, friendships we made and more than
400, maybe 500 hours of work. The RV-family is a great
supporter, thank you, it is a lot of fun on the way. Give me wings!!!!!!!
|
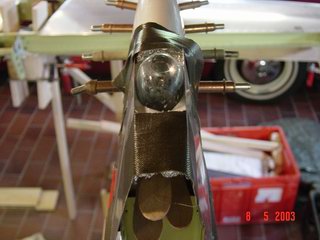
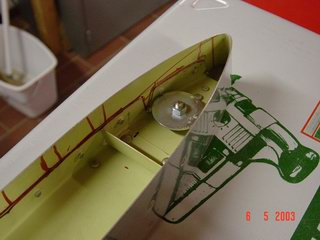 I took a bold with a big washer to secure
the lead from getting loose. If those 400 grams come
loose and block the rudder, it will make your day. (Or
make it your last day?)
I took a bold with a big washer to secure
the lead from getting loose. If those 400 grams come
loose and block the rudder, it will make your day. (Or
make it your last day?)