![]()
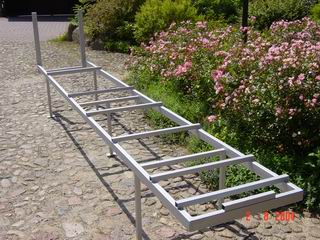 At first a jig had to be
made. In my case I was able to use one the original owner of my kit made
some years ago, that saved a lot of time. Just remove the rust,
paint it and I was ready to go. Meanwhile this jig was used by Josef for
his RV4 and will be used again some day. At first a jig had to be
made. In my case I was able to use one the original owner of my kit made
some years ago, that saved a lot of time. Just remove the rust,
paint it and I was ready to go. Meanwhile this jig was used by Josef for
his RV4 and will be used again some day.
|
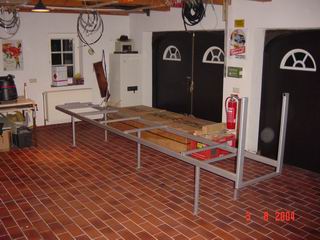 August 2004: The shop is
prepared for the fuselage. August 2004: The shop is
prepared for the fuselage. |
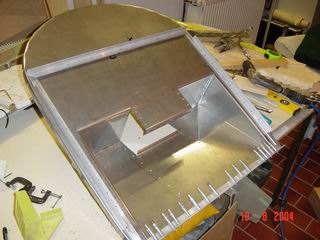
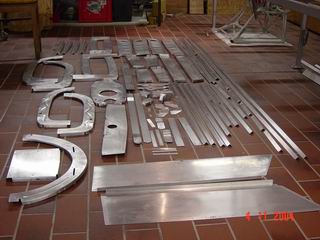
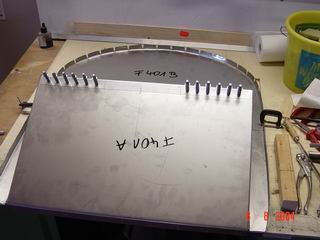 At first you have to
build the firewall. For obvious reason it's the only sheet-metal part
made from steel. In case of fire it will last hopefully long enough to
land the aircraft. It is easy to bend but hard to drill. I decided to
make a cutout in it to get some more space under the cowling. Normally
this extra space is used for a governour if you have a constant speed
propeller, but I plan to use it for routing the oil lines of my inverted
oil system. At first you have to
build the firewall. For obvious reason it's the only sheet-metal part
made from steel. In case of fire it will last hopefully long enough to
land the aircraft. It is easy to bend but hard to drill. I decided to
make a cutout in it to get some more space under the cowling. Normally
this extra space is used for a governour if you have a constant speed
propeller, but I plan to use it for routing the oil lines of my inverted
oil system. |

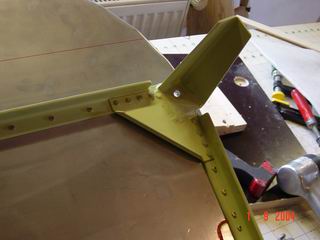
Cutting and re-bending the upper firewall. |
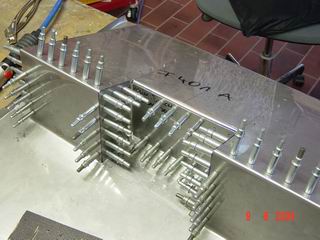
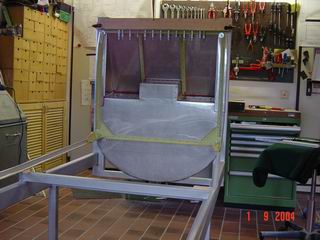
Fitting the cutout-plate. |
...a little bit floppy. |
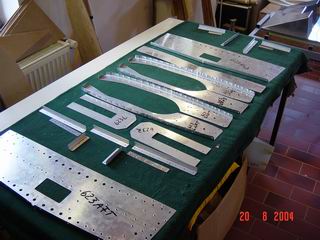
A lot of clecoes. Because I did'nt want to mix up chromate for just 5 pieces I decided to go on with the main spar carrythrough to get some more parts for painting. It's always a big mess and you spend hours just cleaning the gun, so it makes sense to think ahead. |
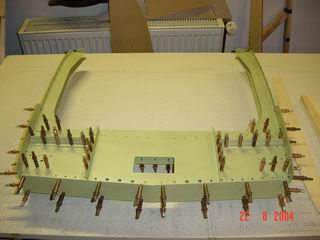
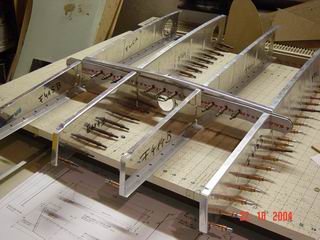
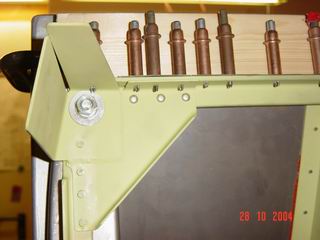
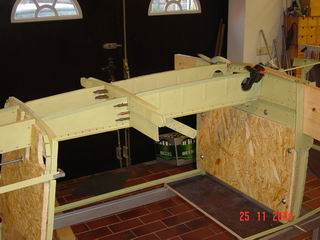
The main bulkhead, that takes the wingspars. It's a good idea to insert some kind of spar dummy before rviting it together, so the spars will really slip into later. |
Done! |
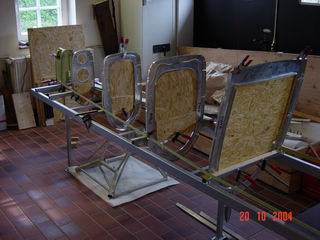
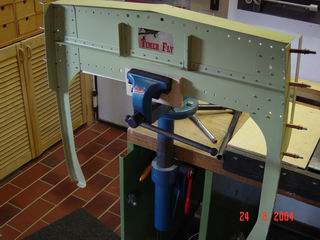
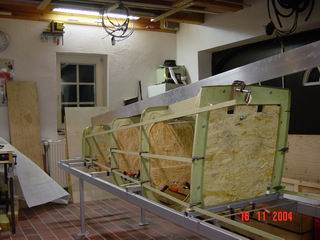
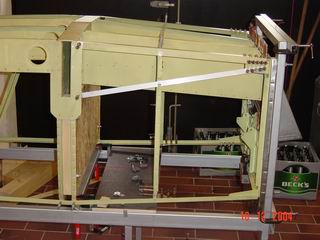
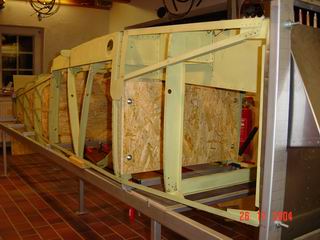
The skeleton starts to come together for a first try..... |
...and the firewall is primed and riveted to the stiffners, ready the be bolted to the jig. |
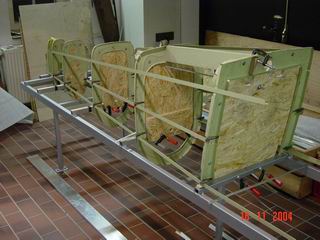
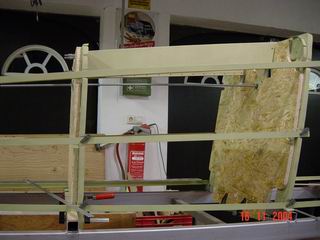
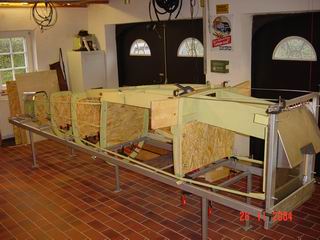
Yes, upside down. the whole fuselage is built this way. |
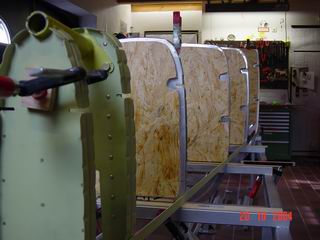
After the main longerons have been bent per plans, the bulkheads are next. They are extremely floppy and I supported them with plywood. You can scew them through the tooling holes and add some stiffness. |
Some parts can be assambled on the bench and plugged in later. That saves a lot of creeping around the jig. |
Some rivets at the firewall are still clecoed, because the belly skin has to be riveted here. Read the plans and you don't have to drill out rivets:o) |
When everything fits and all holes are drilled, it's time to disassamble everything, deburr, dimple, scuff, prime,...... |
...and reassamble again. |
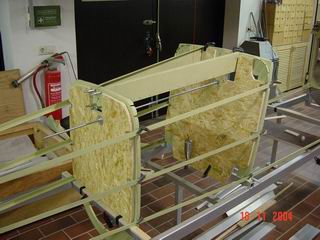
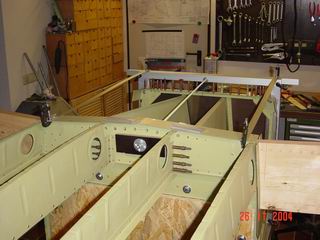
The rear fuselage comes together now. |
Everything straight? |
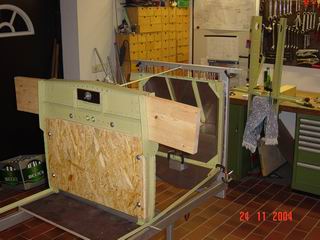
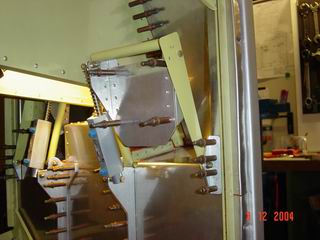
OK, now it's time to connect the rear fuselage to the firewall. |
Main bulkhead F404, accuracy is everything with this bulkhead. |
These ribs had to be shimmed to mate the main bulkhead. |
It's measuring and remeasuring again. |
.....but slowly.... |
...all ribs are fitted. |
The brake pedals are easy to install in this stage. Once the fuselage is skinned it would be a mess to crawl into for this. |
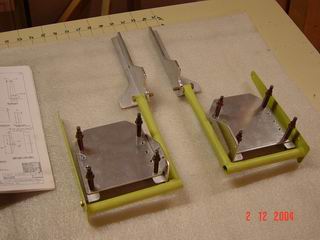
The brake pedals. |
First fit to the firewall. |
Drilled and clecoed. |
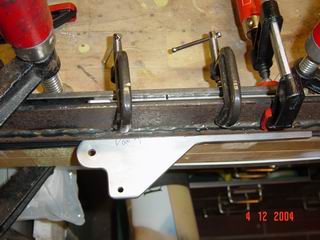
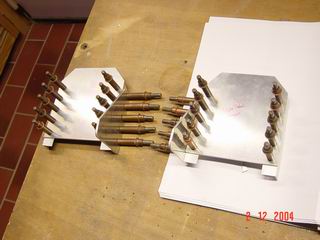
Bending the supports for the brake pedals, caveman-style. See below. |
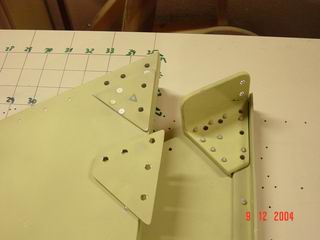
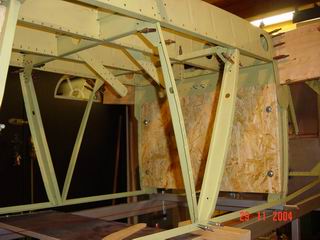
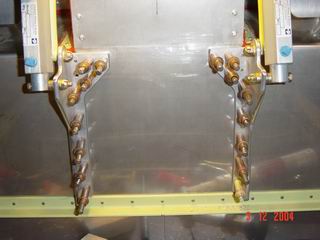
Puzzling around with multiple layers of metal. This will support the engine mount and landing gear. |
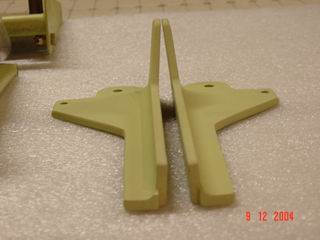
Brakepedal mounts, ready to rivet. |
The last stringers are fitted, some beer left :o) |

...all bolts installed.... |
...Christmas 2004, fuselage is ready for skinning!! Started in August this year, the fuselage is ready for skinning at Christmas. 2004: 497 hours in the shop, 370 hours for the fuselage, 127 hours for wings earlier this year. 1455 hours since I started the project back in 2002. Time to finish 2000 hours??? I don't think so....
|