![]()
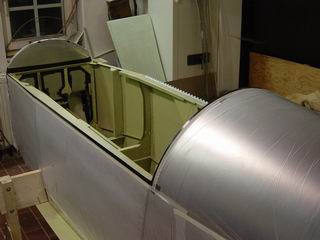
Here are some things which would better fit in some other categories, but for cronology reasons they are listed here. Those things happend beside the other tasks 'inbetween' in my shop at home, like the painting of the cabin: Before.... |
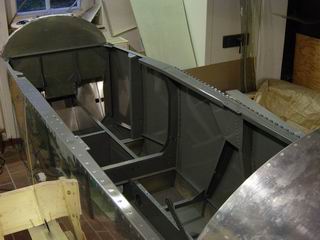
..and after painting it. As you can see, I like a little military touch instead of 'livingroom-atmsphere'. |
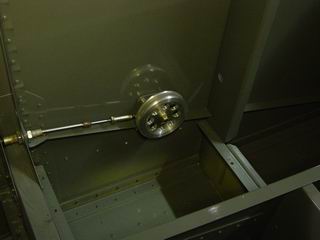
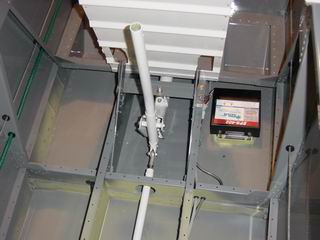
I did not like the spot where Van put the thottle quadrant, it's much too high in my opinion, but to install it more ergonomical, I first had to redesign the trim actuator. The wormgear is taken from an old Piper and the wheel itself is handmade. |
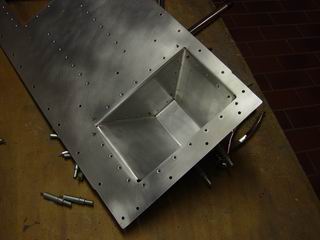
Footwells are a good idea for the backseat. |
They make it much more comfortable for passengers. |
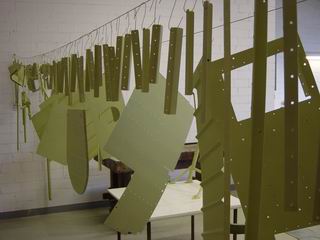
There are zillions of parts to prime.... |
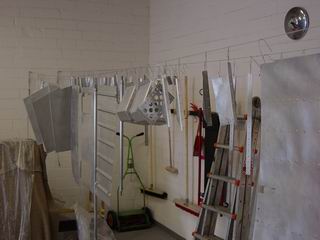
I was glad that I rented the hanger some month before the plane was ready for the airport, so I was able to do the big batches out there and keep the shop at home clean. Andrea was happy, also :o) |
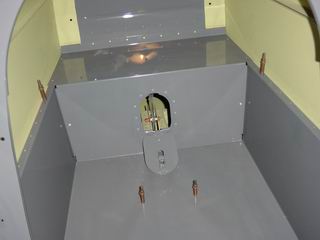
Inspection-cover for the elevator bellcrank. Not per plans, but I want to see those parts frequently. |
The strobe-driver, a NOVA-unit often used in rescue-vehicles. Much cheaper than the Wheelen ones and they have the right connector installed. Saved 150 bucks to spend for gasoline later :o) |
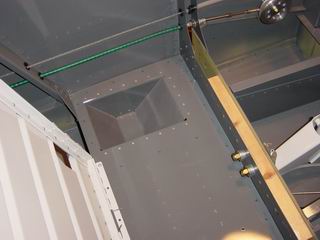
Footwells installed. |
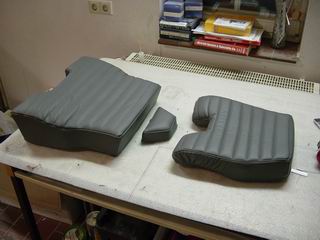
Making the upholstery. |
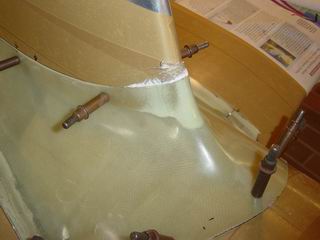
And my all-time-favorite: Damn-EPOXY!!!! |
Did this part ever fit on any RV? I think: NO! |
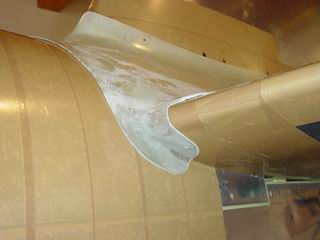
I had to cut off nearly every corner, but with these little pieces it was nothing compared to the cowling. |
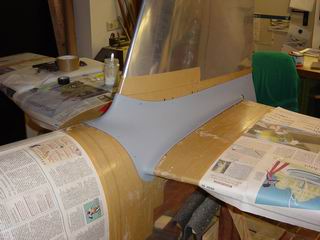
After priming |
...and painting it looks perfect. |
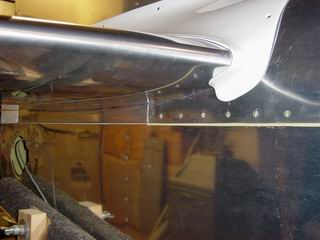
It blends all pieces together. |
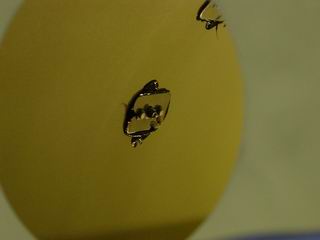
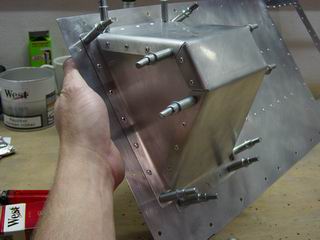
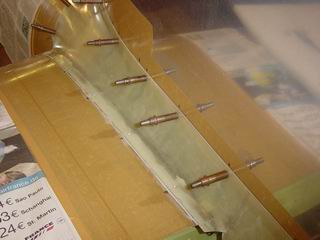
This is how I installed the nutplates to attach the fairing. I rivited nutplates to a piece of scrap and bonded that piece into the fuselage. |
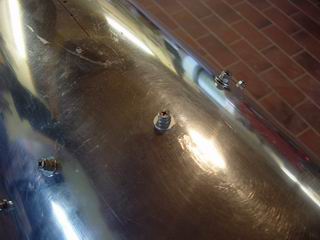
The screws hold the pieces until the bond has cured. |
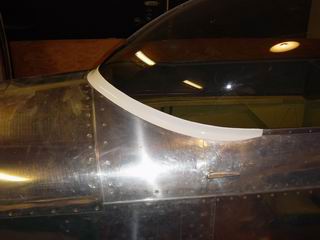
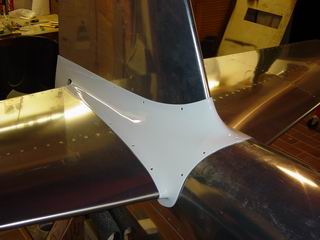
The canopy fairing, here you are completely on your own. A good project to get some practice with this #*!'+? epoxy. Ever thought about building a Lanceair?? |