![]()
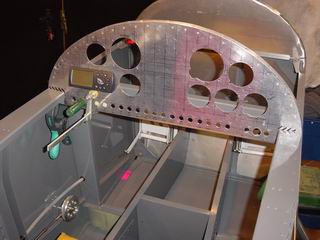
The cockpit panel. At this stage there is no manual any more. You have to decide what items you would like to have (and where to raise the money), where they will be installed, what kind of protection the will need, and so on. Many days of planning before the first cut was made. |
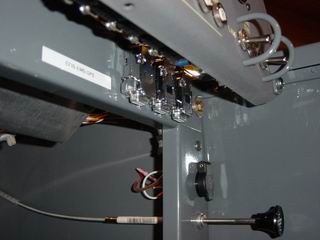
My trusty 'el cheapo' Garmin Pilot III will be with me. The plans tell you to rivet the panel to the fuselage, but I installed nutplates, so I can remove the whole panel for service. For this reason I designed a quick-disconnect for all wires that are running from the panel to the aircraft. After 50 hours of airtime I can say that it works flawless. |
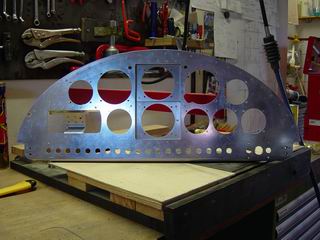
All cuts are made, painting-time again. |
This stuff is called Nextel, it's perfect for the panel, because it does'nt reflect light and is scratch-resistant. |
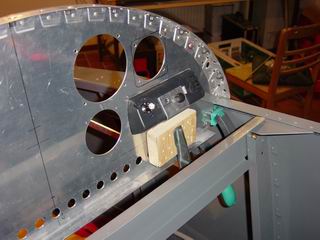
My mapbox, along with vents, bought at the fly-market at Sun 'n Fun 2005.
|
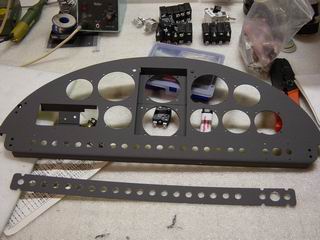
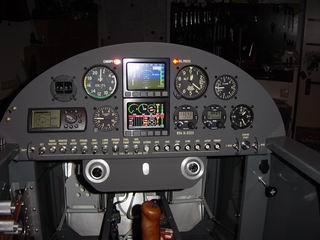
All fuses, switches and instruments installed. |
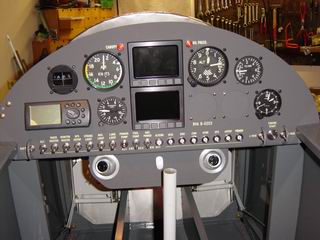
...no, not all :o) The expensive Transponder and Com are covered with blindplates, I can't keep up earning money for feeding the beast :o)
|
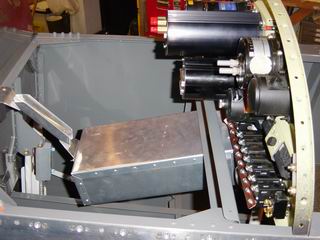
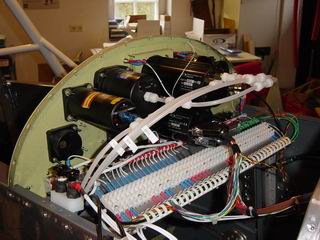
WIRES, wires, wires.... |
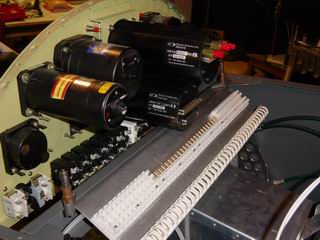
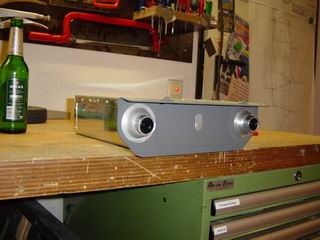
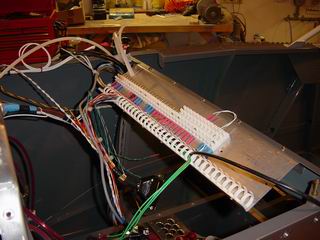
The quick-disconnect panel. |
Really nice to work this way. If I think I should have done this behind the panel.... |
Panel, ready for duty. |
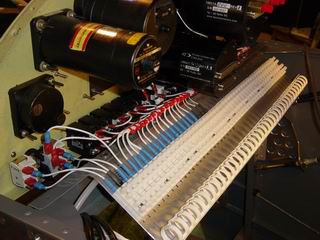
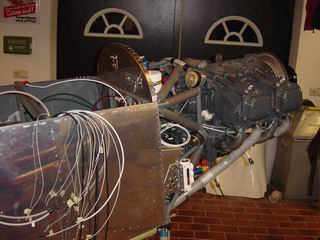
and installed. |
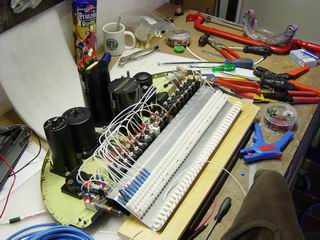
Now it's time to run all the cables to their probes and connectors. Good planning pays off. |
It takes 2 minutes to remove the whole panel.... |
....and plug it in again. |
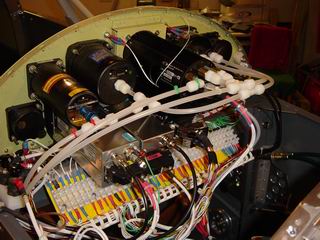
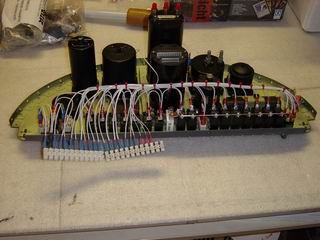
Everything checked. |
These connectors will help to update the Dynons and the GPS without fumbling under the panel. |