![]()
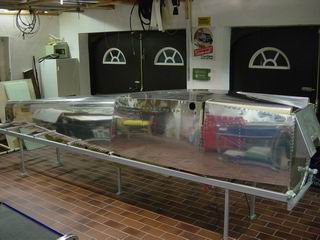
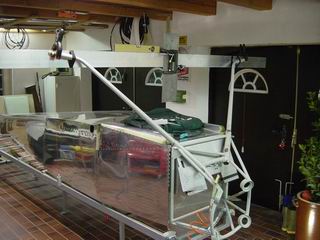
 January 2005: The
fuselage will get it's skin now. Starting at the rearmost end... January 2005: The
fuselage will get it's skin now. Starting at the rearmost end... |
 ..and progressing forward.
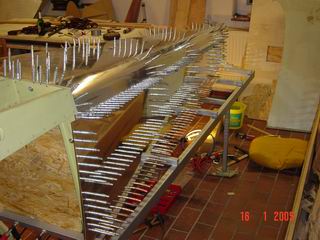
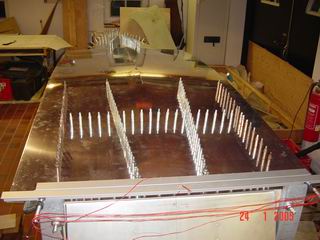
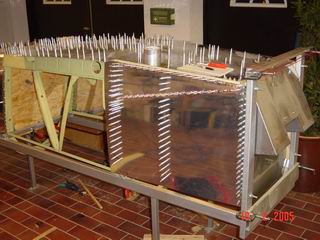
The skin is clamped to the ribs, stringers and bulkheads with wooden
supports and tiedowns to assure a tight fit. ..and progressing forward.
The skin is clamped to the ribs, stringers and bulkheads with wooden
supports and tiedowns to assure a tight fit. |
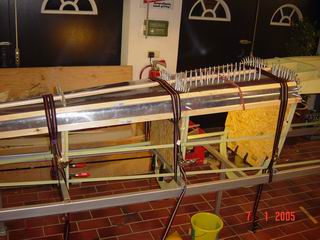
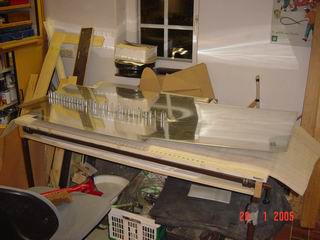
 After the belly skin is
done, it comes off again and the same procedure starts with the side
skins. After the belly skin is
done, it comes off again and the same procedure starts with the side
skins. |
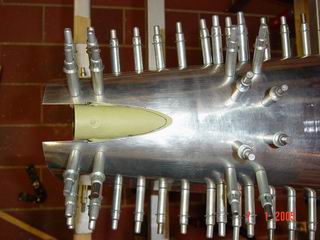
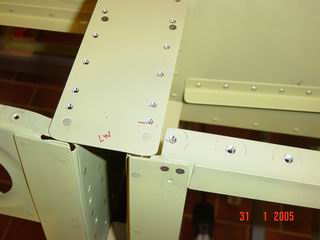
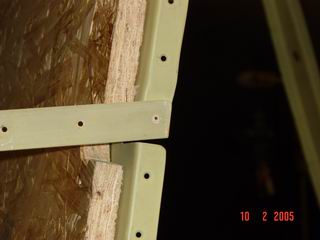
As you can see, I drilled the longerons first and then backdrilled through the existing holes right into the wooden support-stringers. This makes sure that all the rivets are well centered in the longerons. |
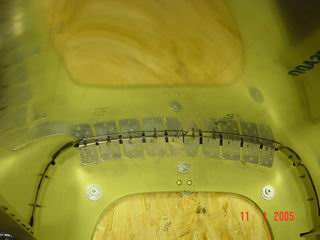
But some bulkheads didn't fit at all. I decided to cut off the flange and replaced it with a shopbuilt one, so I made shure that the skin runs over all bulkheads without any deflection. |

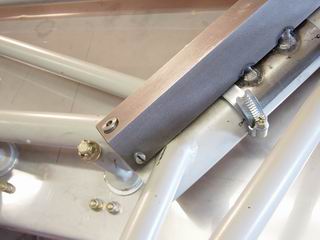
These little support angles are not per plan, but they held the longerons temporarily during the skinning process, I left them in place after finishing the fuselage.
|
Another shot of the replaced flange. |
I'm short of clecoes!!
|
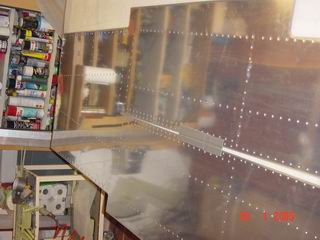
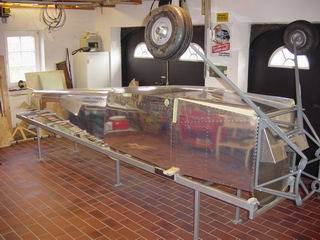
But the rear end is covered. |
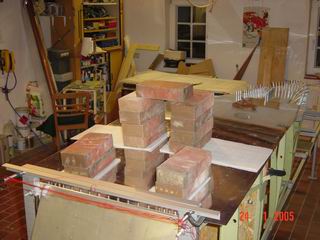
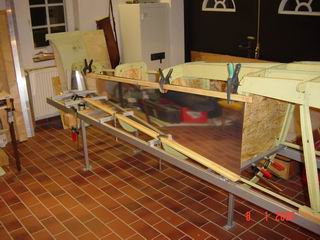
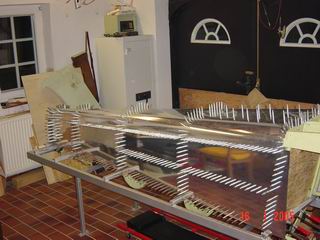
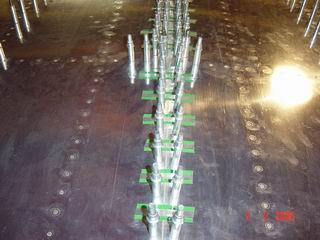
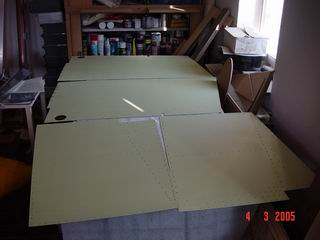
The belly skin is somewhat different, because you have to cut and splice it in the middle, so it will get a three-dimensional shape. Because of the shape there is no chance to use tie-downs, so some bricks had to do the job. |
All holes are drilled. |
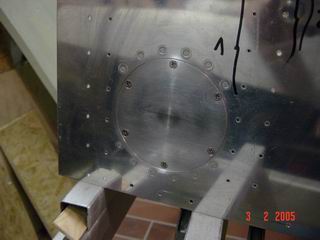
This is how it looks with the splice-plate clecoed on. |
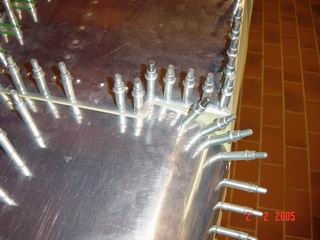
And without the splice. |
As ever, all holes have to be dimpled or countersunk, depending on the thickness of the material. |
After priming it's time to rivet it together forever. |
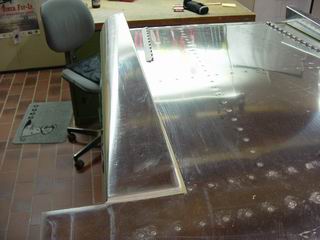
Those edges are time-consuming, if you want a perfect fit. |
And there are 1000 little things like these....... |
Priming (havn't counted how often I had those priming sessions, but must have been hundrets) |
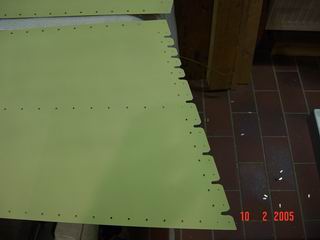
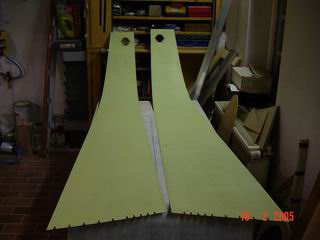
Prepared skin edge, on an RV4 you have to do it all by yourself, no CNC, no laser cutting, just blood, sweat & tears :o) |
Hard to see, but if you look closely, you'll see a rivet, that holds the longeron to the rib. This rivet is drilled, so I was able to drill through from behind (after skinning) and then drill from the outside and replace the rivet with the final one. |

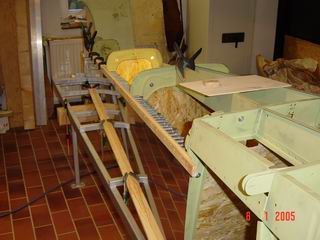
Working my way to the firewall. |
...and finally reached the goal. |
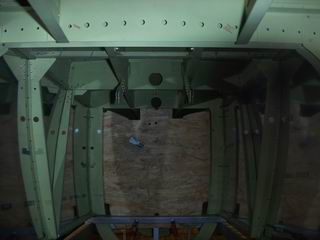
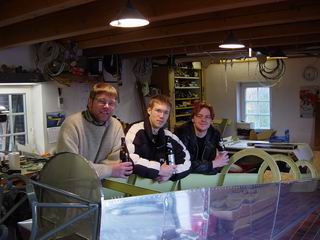
UUH, it's getting dark in here! |

This is my buddy Pat, he helped me with all those 4-hand rivet-jobs. Thank you, you did an outstanding job. Prost!!! |
Rear fuselage riveted, front end clecoed. |
Primed and ready for another BRRRRRRT-BRRRRT-evening. |
Working on details. |
All skins done! |
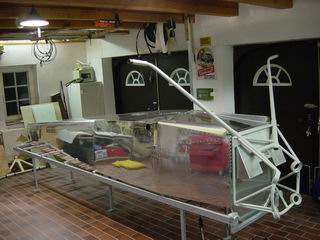
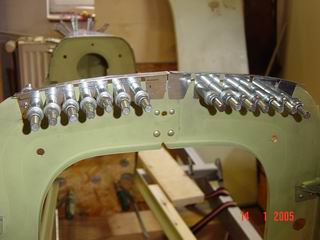
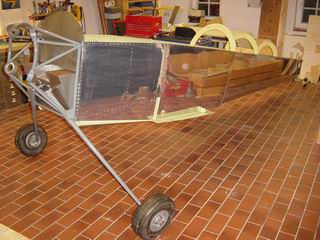
Mounting the enginemount and landing gear. |
Today these holes are predrilled, but I had to make a fixture to drill the landing gear to the engine mount. the landing gear is bolted to the mount with one bolt, so this holes has to be straight, and reamed to a tight fit. |
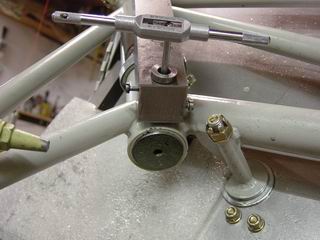
Reaming the landing gear mount. |
Adjusting the landing gear. |
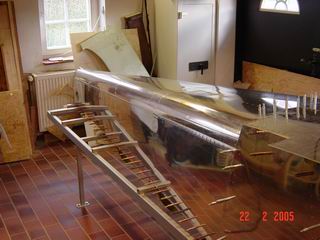
Time to remove the fuselage from the jig. |
A milestone!!! Some airport guys helped to remove the jig (and the beer as well) |
28th of March 2005: I resisted to jump in and make airplane noises at this stage, because without the rear deck riveted in, the structure is fairly weak. But it really might become an aircraft, YES! 1780 hours logged, and a long way to go!
|